How to Convert a 12 Volt Alternator to a 16 Volt Alternator? Step-by-Step Guide
Converting a 12-volt alternator to a 16-volt alternator involves modifying the alternator and the electrical system of the vehicle. It’s important to note that this is not a typical or recommended modification for most vehicles, as it can have implications for the vehicle’s electrical components and may not be street-legal in many cases. Additionally, it can be dangerous if not done correctly. This conversion is quite possible with proper skills, tools, and precautions.
This comprehensive guide will discuss the step-by-step process of upgrading a 12-volt alternator to 16-volt.
Step-by-Step Process of Converting a 12 Volt Alternator to a 16 Volt Alternator
The following steps provide clear and detailed instructions on how to convert a 12-volt alternator to a 16-volt one:
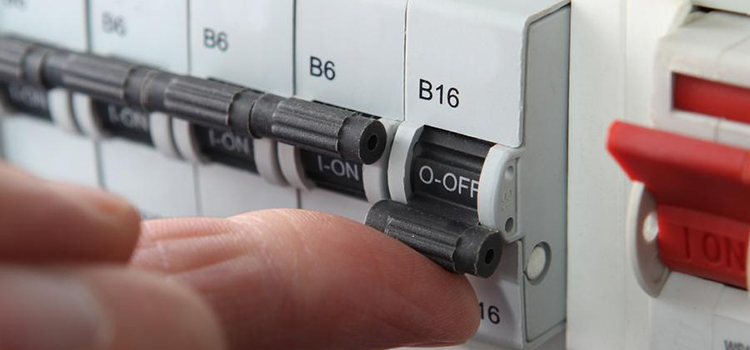
Step 1: Disconnect the Battery
First, use a wrench to disconnect the negative terminal of the battery first, followed by the positive terminal. This cuts power to the system and prevents accidental electrical shorts.
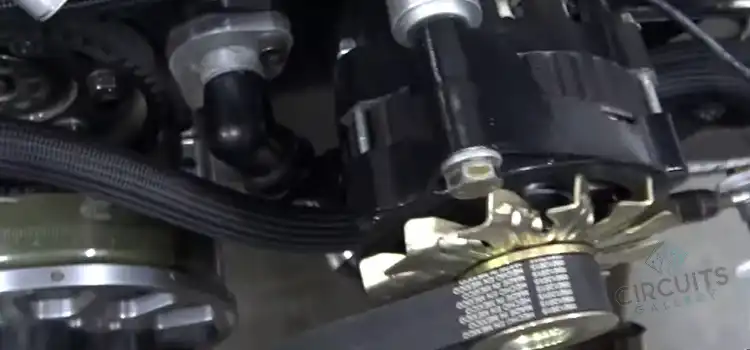
Step 2: Remove the Alternator
- Locate the alternator, usually fixed to the engine near the crankshaft pulley.
- Loosen the belt tensioner and remove the serpentine belt from the alternator pulley.
- Label all electrical connections for easy reassembly and unplug all connectors.
- Remove the mounting bolts and carefully lift the alternator from the engine bay. Then, place it on a workbench.
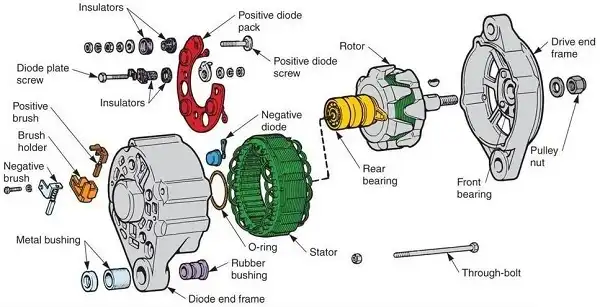
Step 3: Disassemble the Alternator
- Remove external case screws or fasteners and carefully pry open the housing. Avoid damaging the internals.
- Once open, disconnect and remove the front and rear covers.
- Now, you can access the regulator, stator, rotor, rectifiers, and other parts.
Step 4: Install New Voltage Regulator
- Locate, label, and remove all screws or fasteners securing the regulator.
- Unplug the electrical connector going to the regulator.
- Obtain a suitable 16-volt regulator that matches your alternator’s specs and install it in the same place as the old one.
- Use existing hardware to secure it and reconnect the wiring connector.
Step 5: Rewind the Stator
- Remove the stator assembly by unbolting it from the housing and disconnecting all wiring.
- Carefully unwind the original 12-volt stator coils and remove them.
- Obtain matched 16-volt windings for your alternator and wind the new coils into the stator slots.
- Properly secure the new windings and apply insulating varnish. Allow to cure before reassembly.
Step 6: Reassemble Alternator
- Place internal components like the rotor, bearing shields, rectifiers, and cooling fan back into position within the housing.
- Ensure brushes, slip rings, and bearings are in good condition, or replace them if needed.
- Double-check all parts are properly aligned and seated before rejoining housing halves.
- Securely reinstall all external fasteners and reconnect all wiring harnesses.
Step 7: Modify or Replace Pulley
- If possible, Source a compatible 16-volt replacement pulley of the correct smaller size.
- Otherwise, you’ll need to resize the existing pulley using a lathe to machine it down to specs.
- Install modified or new pulleys using original hardware. Verify proper belt alignment.
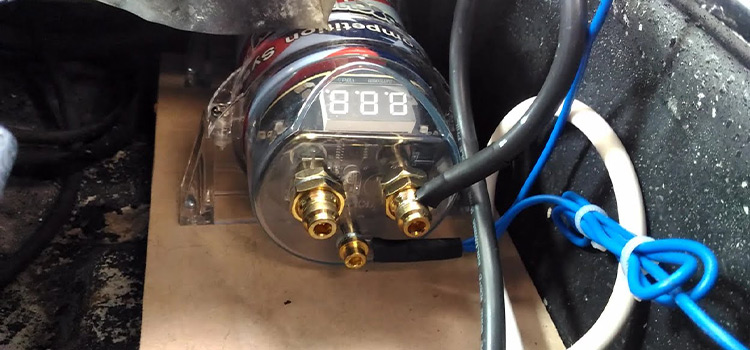
Step 8: Test Voltage Output
- Reconnect battery terminals: positive first, then negative.
- Back probe the alternator wiring to measure the voltage as it operates.
- Voltage should read between 16-16.5 volts when working properly.
- If not, recheck all connections and inspect the voltage regulator adjustment.
Step 9: Reinstall Alternator
- Once the output voltage is confirmed at 16V, reinstall the upgraded alternator:
- Place the alternator back into the mounting bracket and secure it with the original bolts.
- Reconnect wiring harness plugs and terminals securely.
- Reinstall the serpentine belt over the pulley. Adjust the tensioner bolt until proper belt tension.
- Confirm pulley alignment is straight between accessories.
Step 10: Test Charging System
- To load the system, Turn on all accessories like headlights, HVAC fan, and stereo.
- Check voltage output with a multimeter at the alternator and battery terminals.
- Voltage should stay between 16-16.5 volts during high electrical demand.
- Allow the vehicle to run and charge the battery. Voltage reading at the battery should steadily increase.
- Watch for any issues like smell, noise, or overheating.
Step 11: Safety Precautions
Safety is a significant concern with this modification. The increased voltage can pose risks to the electrical system and may lead to damage or even fires if not handled correctly. Ensure that all connections are secure, and use appropriate safety measures when working with electrical components.
(FAQs) – Frequently Asked Questions and Answers
What Kind of Performance Gain Can I Expect From a 16 Volt Upgrade?
Answer: Typical gains are 15-25% more available electrical power and improved voltage stability.
What Gauge Wiring Should Be Used for a 16 Volt Charging System?
Answer: 12 AWG wiring or larger is recommended for 16-volt vehicle charging systems.
What Is the Downside of Upgrading a 12-volt Alternator to a 16-volt Alternator?
Answer: The downside is that it increases the risk of damaging or overloading electrical components unsuitable for higher voltage.
To Conclude
Converting a 12-volt alternator to a 16-volt alternator is a relatively simple process. However, following the instructions and taking the necessary safety precautions carefully is important.
Learning this skill can be valuable for various applications such as high-performance vehicles, racing machines, or specialized equipment.
Subscribe to our newsletter
& plug into
the world of circuits


![Which Amplifier Is Best Transistor or MOSFET? [Compared and Explained]](https://www.circuitsgallery.com/wp-content/uploads/2023/07/which-amplifier-is-best-transistor-or-mosfet.webp)