How to Burn or Program PIC Microcontroller?
The method of transferring compiled .HEX (machine code) file to the memory of microcontroller using microcontroller burning software is called burning or programming of a microcontroller. Once a program is burned into the memory of the microcontroller, it then works with respect to the program logic. Here we have a detailed yet compact description of how to burn or program PIC microcontroller.
What is a compiler and which compiler is suitable for PIC microcontroller environment
A compiler is any software like ‘Mikro C’ which provides an environment to develop embedded programs, test, debug and build .Hex for the microcontroller. And for the second question, surely I can say ‘Mikro C Pro’ is the best microcontroller software for the PIC family.
The advantage of ‘Mikro C’ is that it has so many inbuilt functions to perform different tasks along with microcontroller programming software (Boot loader- burning tool or burning software). It is one of the best Integrated Development Environment (IDE) for the PIC family of microcontrollers and allows C language for code development. Finally, the compiler converts the embedded C codes into .HEX file.
How to build .HEX file to burn or program PIC using Mikro C

Tools required to burn/ program a PIC Microcontroller
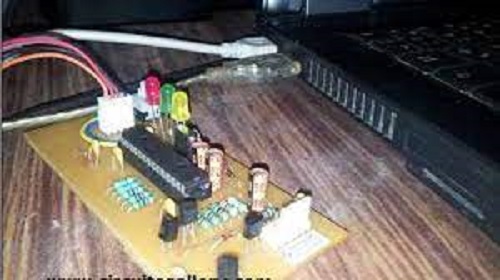
- PIC programmer (burner) or development board. If you don’t have the programmer, read how to build your own USB PIC programmer.
- Serial port cable (Latest laptops don’t have serial port, if you are using laptop you need a USB to serial port converter cable- costs about $5)
- Microcontroller burning software like Bootloader in ‘Mikro C‘
Steps on how to Burn or Program PIC Microcontroller
Our aim is to transfer the .HEX file to the memory of PIC microcontroller. To program a microcontroller you need a device called a burner/programmer and software (Boot loader).
The burner and the dedicated software perform the function of transferring .HEX file into the PIC. The burner is connected to the PC via a serial port cable. For laptops, we use USB to serial port cable. ‘Mikro C’ has an inbuilt ‘boot loader’ tool to burn your PIC microcontroller.
- Connect your PIC programmer to the PC and navigate to Tools>>mikroBootloader in Mikro C. Then a Bootloader window will appear.
- You can see ‘Setup Port’ button on the right top corner. If you are using PC and serial port cable select ‘COM1’.
- For laptop and USB to serial port cable you need to verify the port number via system Device manager. For this open Control panel>>Device manager and check the COM port number (eg: COM9).
- Select the same port from the port setup window after setting the specific port and click the OK button.
- Now click ‘Connect’ button, a message will appear in the ‘History window’ box with “Waiting PIC response; Disconnected”.
- Then you will have to ‘Reset‘ to get connected. For that look at your development board or PIC burner and press the ‘Reset’ button of PIC.
- Then rapidly click the connect button in the mikroBootloader window. Now you will be able see “Connected” in the history window.
- Now click ‘Open HEX file’ button and select the .HEX file that you had built in the folder (project directory) before.
- Then click ‘Start Bootloader’ button to burn the PIC microcontroller. You will be able to see the burning process via the ‘Terminal window’.
After the burning process, a message box will appear saying “Reset PIC”. Click OK and now you are finished with the PIC microcontroller burning…!
Conclusion
Building the .hex file is the prime requirement before delivering your programming logic to the PIC microcontrollers. And as you finish that step, you’re just a stone’s throw away until you know how to burn or program PIC microcontroller. I have just listed the steps here sequentially just to keep things in sight- simple enough.
Subscribe to our newsletter
& plug into
the world of circuits