How to Solder USB Port? | Step-by-Step Guide
USB ports have become an indispensable component of our daily lives. However, USB ports are susceptible to damage, often due to wear and tear or accidental force.
To replace a damaged USB port, desolder the old one, clean the pads, align the new port, solder the joints, inspect for defects, clean excess solder, reassemble, and test functionality. This step-by-step procedure ensures a precise and effective USB port replacement. Let’s dig in.
Safety First: Mandatory Precautions
Soldering poses risks requiring preventative measures:
- Ventilation: Avoid inhaling toxic fumes by soldering in well-ventilated areas.
- Eyewear: Protect eyes from hot solder splatter with safety glasses.
- Fire Protection: Work on nonflammable, heat-proof surfaces in case of drips.
- Handling Care: Hot tools can inflict burns. Wear gloves and handles with caution.
Assembling Necessary Tools and Materials
- Soldering Iron
- Adjustable temperature iron enables control to prevent damaging sensitive electronics.
- Solder
- Lead-free rosin core solder suits most electronic repairs.
- Soldering Wick
- Copper braid soaks up excess solder for cleaning mistakes.
- Flux Pen
- Flux promotes solder flow in difficult spots.
- Precision Tools
- Tweezers and needle nose pliers aid in handling small items.
Step-by-Step Procedure of Soldering USB Port
Follow these steps to remove an old damaged USB port and solder a new USB port:
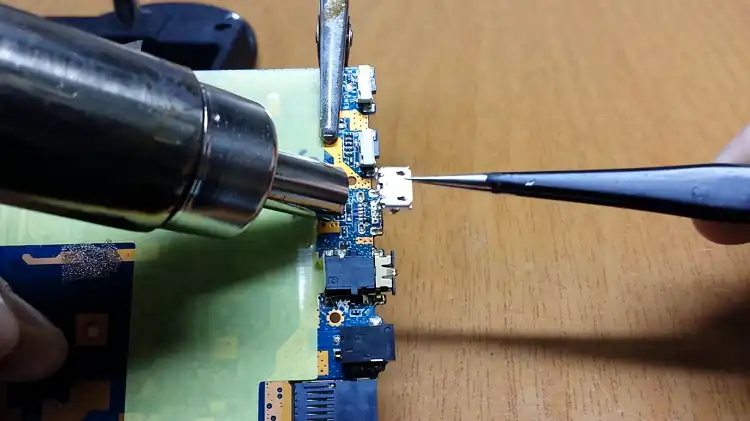
Step 1: Remove the Damaged USB Port
- Disconnect power from the device and ensure it is turned off.
- Use a screwdriver to open the device casing and access the internal circuit board if needed.
- Locate the damaged USB port soldered onto the circuit board. Note which side the metal USB port pins are protruding from.
- Under a magnifying glass, inspect each individual pin joint connecting the port to the board.
- With a soldering iron heated to approximately 700°F (370°C), gently touch one pin joint until the solder melts.
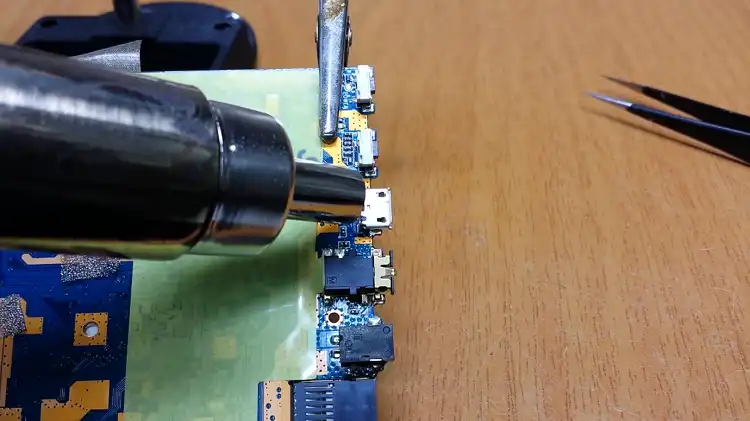
- Use a solder wick to draw the liquefied solder away while holding the iron to the joint.
- Repeat steps 5-6 proceeding one pin at a time until all USB port pin joints are fully desoldered.
- Check that all pins can move freely from the board. Reheat any remaining soldered pins as needed.
- Once fully detached, gently lift the USB port body directly upward from the board so as not to bend any pins.
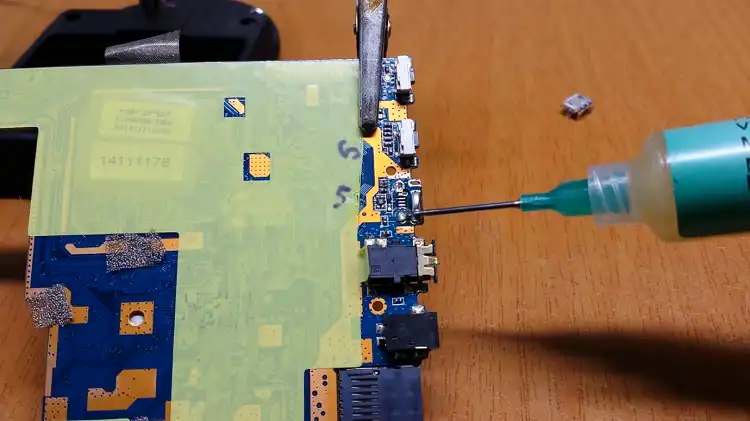
Step 2: Installing the New USB Port
- Use isopropyl alcohol and cotton swabs to thoroughly clean solder pads, removing all residual flux and debris.
- Carefully inspect pad surfaces for damage, burns, or lifted copper that could prevent electrical contact.
- Align the new replacement USB port with circuit board pads, and matching pin layouts appropriately.
- Tack port pins to pads one at a time with a small dot of solder to loosely hold in position.
- Apply fresh flux paste to exposed pin tips and soldering pad surfaces to prepare for soldering.
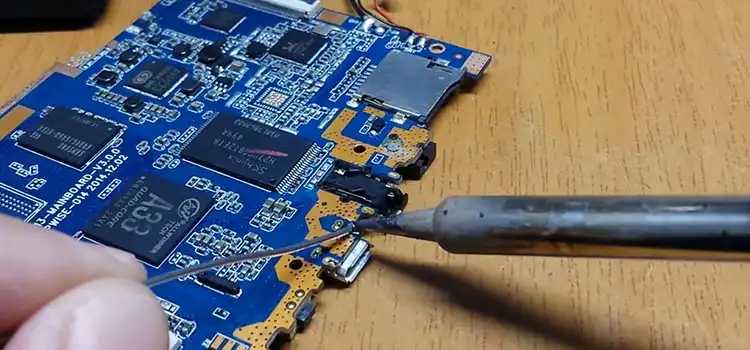
Step 3: Solder the Replacement USB Port
- Working one joint at a time, reheat the preliminary tack solder until liquefied.
- Feed additional solder slowly onto the pin and pad to form a clean cone-shaped solder fillet.
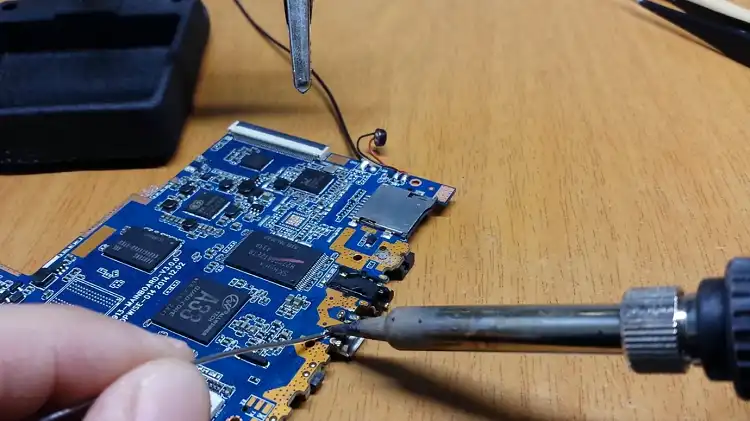
- Proceed to adjacent pins using minimal required solder for optimum joints until all connections are completed.
Step 4: Finishing Touches and Reassembly
- Once all pins are soldered, inspect the solder joints for any defects or imperfections. Reflow the solder if necessary.
- Use isopropyl alcohol and cotton or brush swabs to clean any excess solder or flux.
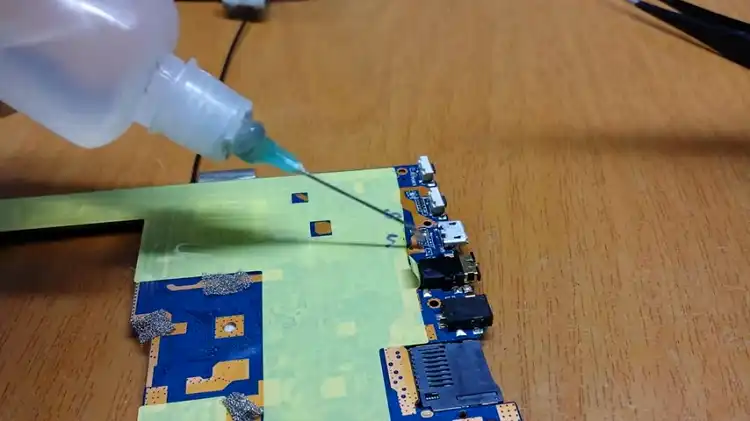
- Carefully reassemble your device, following the reverse steps of disassembly.
- Power on your device and test the functionality of the repaired USB port. Connect a USB device to ensure data transfer and charging capabilities.
FAQs – Frequently Asked Questions and Answers
- What type of solder should I use for USB ports?
Answer: Lead-free solder is the recommended choice for USB port repair due to its safety and environmental benefits.
- How do I prevent overheating the USB port during soldering?
Answer: Work quickly and avoid prolonged heat exposure to the USB port. Use a soldering iron with temperature control to prevent overheating.
- What should I do if I accidentally damage the circuit board while soldering?
Answer: If you damage the circuit board, it is advisable to seek professional repair services. Attempting to repair extensive damage on your own could further compromise the device’s functionality.
To Conclude
Learning soldering methods enables us to restore broken USB ports when they fail rather than discarding devices. We now have essential know-how for protecting our tech investments with repaired ports. Our newfound skills even open horizons for undertaking more advanced fixes down the road!
Subscribe to our newsletter
& plug into
the world of circuits