How to Solder a Charging Port? | Step-by-Step Guide
The charging port is the physical interface that allows an electronic device to be charged via a cable and power source. But charging ports can wear out over time and lose connectivity.
Replacing the whole motherboard or device can get expensive. A better solution is to replace just the damaged charging port by soldering a new one onto the board. This guide will walk you through the process step-by-step.
Safety Tips Before You Begin Soldering
Soldering requires working with extremely high temperatures, so safety should be the priority:
- Wear ANSI-approved safety goggles to protect your eyes from debris. Stray solder bits can be dangerous.
- Use a soldering iron stand and avoid leaving the hot iron sitting on flammable surfaces.
- Ensure your workspace is clear of clutter and flammable items.
- Have a fire extinguisher nearby in case of accidents.
- Work in a well-ventilated area to avoid inhaling toxic solder fumes.
- Unplug the soldering iron when not in use and allow it to fully cool down before storage.
Required Tools and Supplies for Soldering a Charging Port
You’ll need the following tools:
- Soldering iron with adjustable temperature – Used to melt solder.
- Thin conical soldering tip – For precision work on small joints.
- Rosin core solder – Lead-free solder with flux core.
- Solder wick – Absorbs and removes old solder.
- Solder sucker/vacuum – Also removes old solder.
- Precision tweezers – For handling tiny components.
- Flux pen – Improves solder flow and joint quality.
- Isopropyl alcohol – For cleaning flux residue after soldering.
- Multimeter – Verifies connections and detects shorts.
Step-by-Step Soldering Instructions
Follow these steps closely when soldering a new charging port:
Step 1: Prepare the Port
- Carefully remove the old charging port. Desolder any existing connections.
- Thoroughly clean the contact pads on the motherboard around the port opening using isopropyl alcohol to remove contaminants.
Step 2: Add Solder
- Apply a small amount of flux to each contact pad using a flux pen. This aids solder flow.
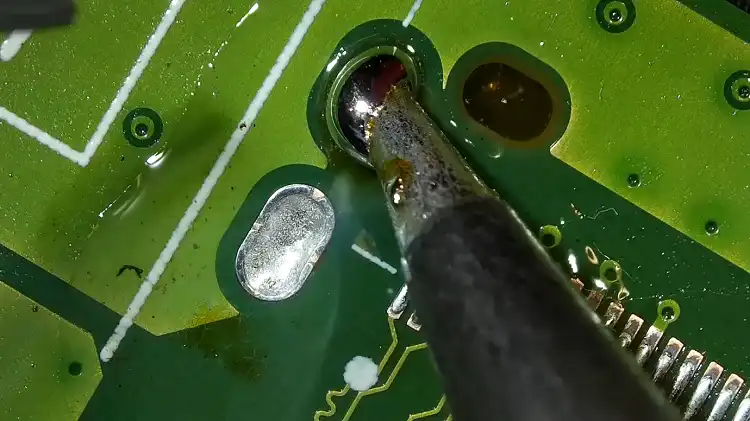
- Pre-tin each pad by briefly pressing a solder ball to melt and coat the pad with a thin layer of fresh solder.
Step 3: Install New Port
- Verify the new port aligns properly over the pads before soldering.

- If needed, use masking tape to hold the port in place temporarily.
- Solder the power pins first, followed by the data pins.
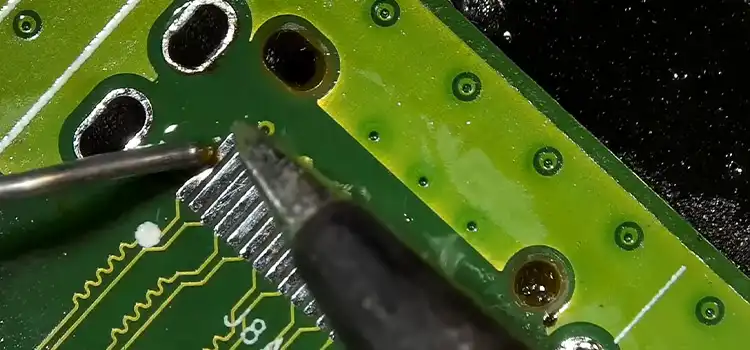
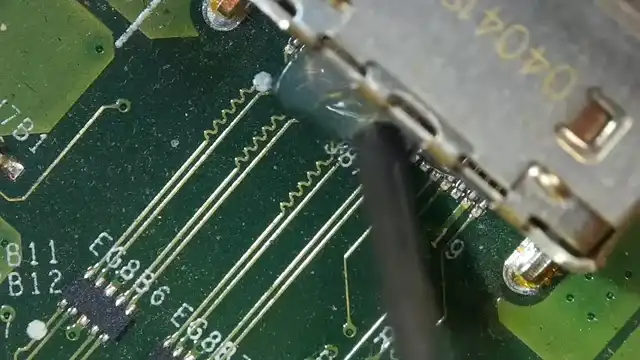
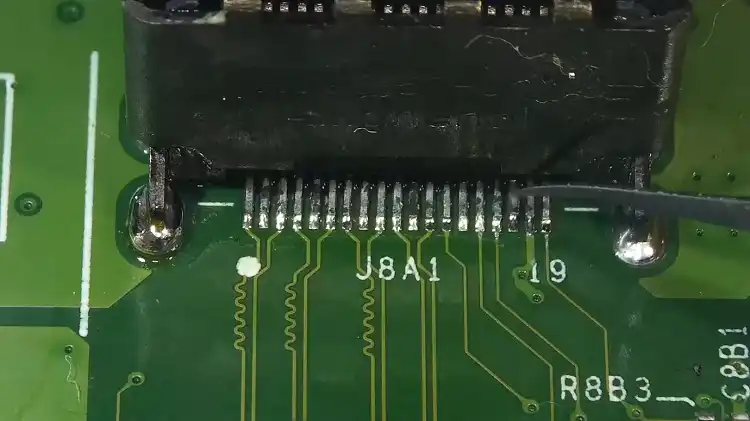
Step 4: Solder the Pins
- Touch the soldering iron tip to the pin and pad simultaneously.
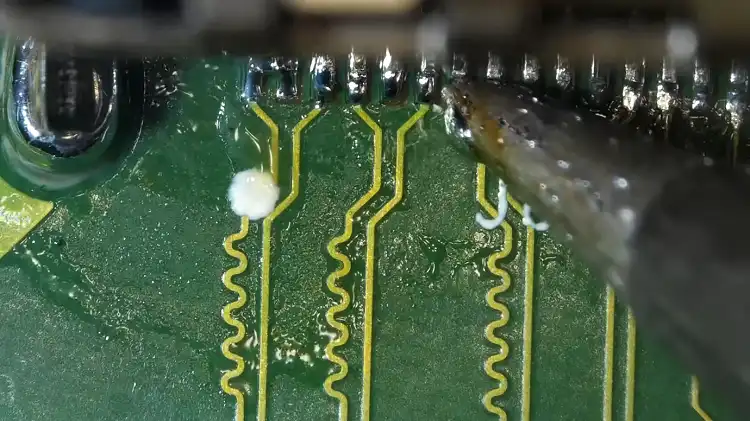
- Feed a small amount of solder to form a cone-shaped joint.
- Work systematically from one pin to the next.
- Reheat joints that don’t look satisfactory. Add solder if needed until a smooth fillet is formed.
Step 5: Test the Joints
- Use a tweezer to test each joint to make sure it is firm and intact.
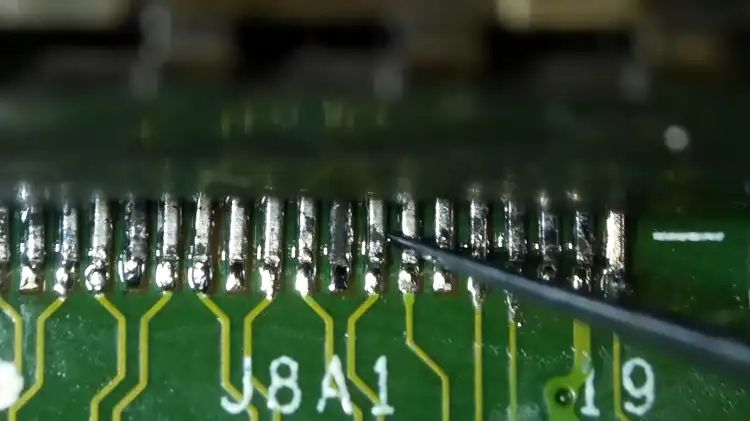
- If you find a moving leg, solder it again.
Step 6: Clean and Inspect
- Remove flux residue with isopropyl alcohol and cotton swabs after soldering.

- Visually inspect each joint under magnification for proper adherence to the pad and pin.
- Use a multimeter to check for shorts between adjacent pins.
Step 7: Finish Assembly
- Reinstall any brackets or screws to securely hold the port in place.
- Reassemble the device and verify charging capability.
With care and patience, you can successfully solder a new charging port. Just take it step-by-step.
Basic Troubleshooting Guide
If your charging port isn’t working after soldering, try these troubleshooting tips:
- Reflow any questionable solder joints by reheating and adding a small amount of solder if needed.
- Check for inadvertent solder bridges between pins causing shorts. Remove with solder wick.
- Examine the port alignment. Reheat joints and adjust position if needed.
- Ensure the port sits flush against the contact pads for proper electrical connection.
- Carefully check your soldering iron tip temperature and technique.
- Verify you are using an adequately thin solder intended for electronics work.
Frequently Asked Questions (FAQs)
1. What Type of Solder Should I Use?
Answer: You should use a rosin-core solder with a lead content of 63% or 37%. Rosin-core solder is self-fluxing, so you don’t need to apply separate flux.
2. How to Know Which is the Right Temperature for the Soldering Iron?
Answer: The ideal temperature for soldering a charging port is around 350 degrees Celsius. If the temperature is too low, the solder will not melt properly. If the temperature is too high, it can damage the charging port.
3. How Do I Prevent Bridges from Forming?
Answer: To prevent bridges from forming, be careful not to apply too much solder to the contact pads. You should also use a heat sink to dissipate heat from the charging port.
To conclude
With the right mindset and techniques, you can master the art of soldering charging ports and handling your device repairs. The ability to fix rather than replace makes soldering skills invaluable in the world of electronics. With this step-by-step guide, you have all the information needed to successfully solder a charging port.
Subscribe to our newsletter
& plug into
the world of circuits